How to Replace an Inner Tube? Best tips and tricks
Owning a bike comes with great benefits to one's health and it also comes with learning lessons. One of the lessons one must learn is how to replace the inner tube of a tire. It may seem intimidating at first but after reading this article you too can be a pro!
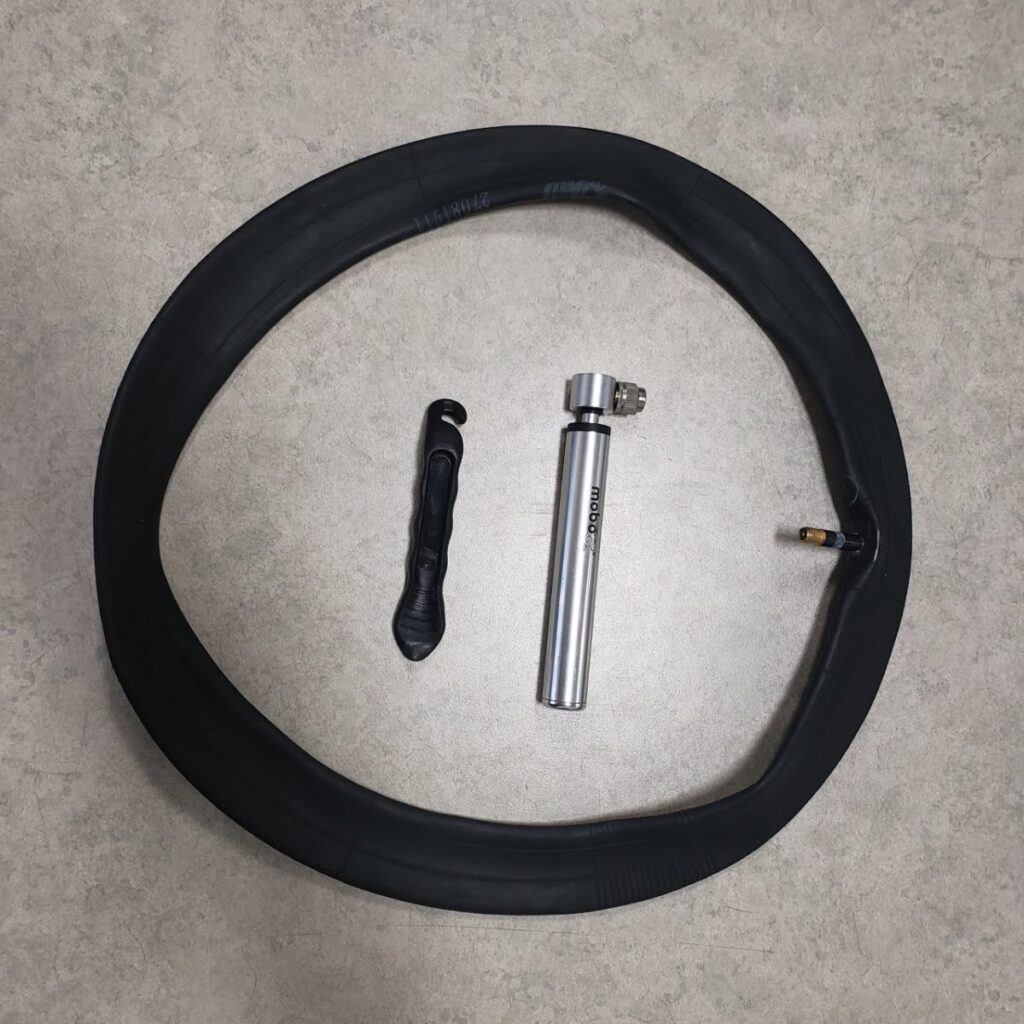
You will need the following tools:
Replacement Inner Tube (make sure to purchase the correct size)
Tire Lever
Air Pump
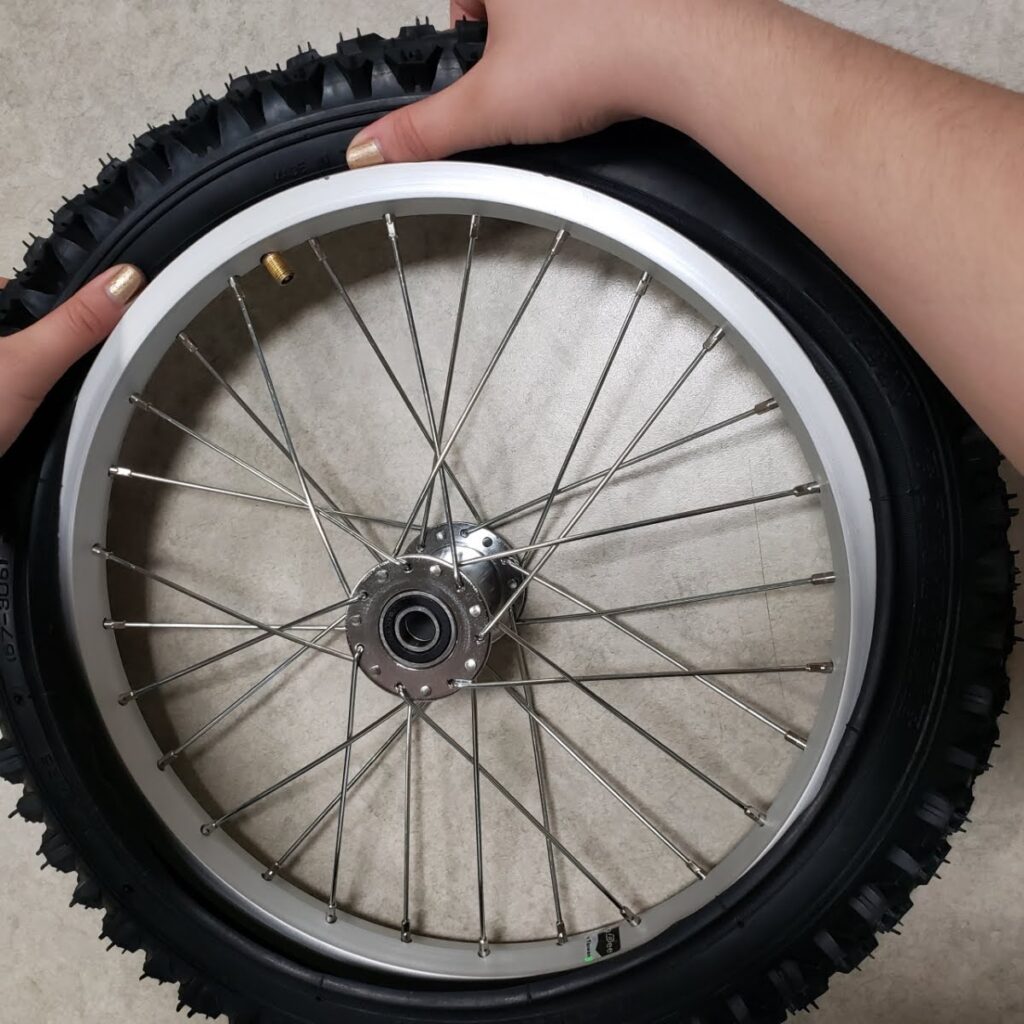
You can find the size of the inner tube required printed on the tire.
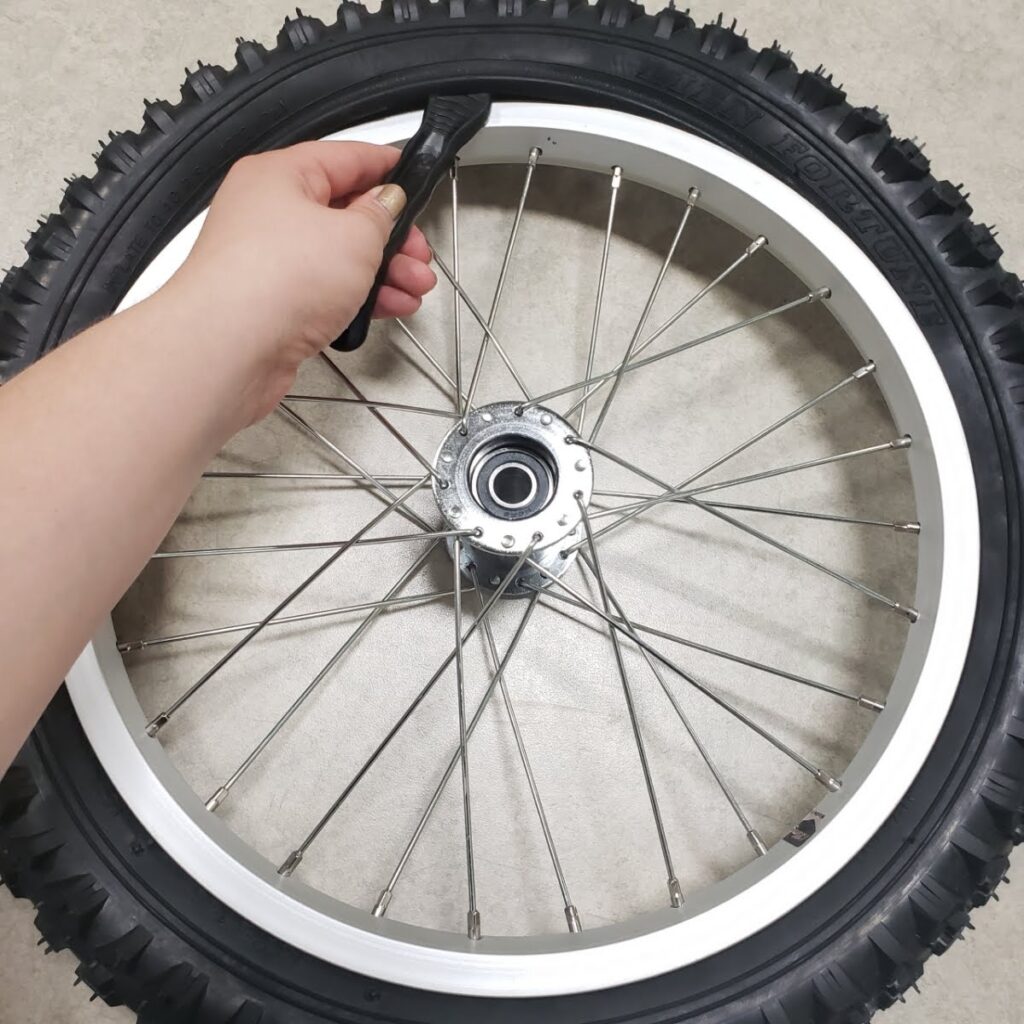
Step 1:
First, you will need to remove all of the air from the tire. Then you will use the tire lever and insert it into the tire edge to un-tuck one side off the rim.
Step 2
Now that you have one side of the tire out of the rim, pull
the nozzle out of the rim hole and pull the inner tube out.
Progress check: You should now have the rim with only one side of the tire on properly and the worn inner tube out.
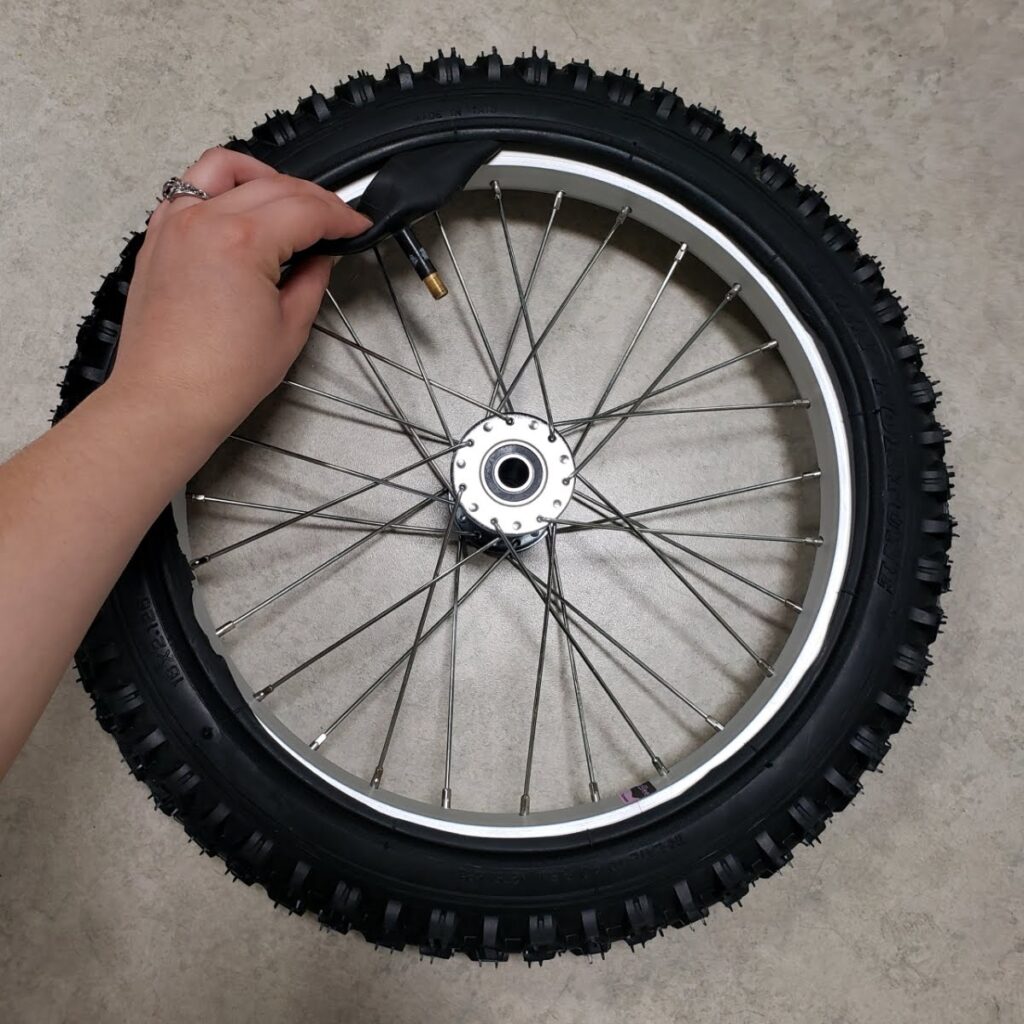
Step 3
Grab the inner tube replacement and align the nozzle with
the rim hole. Then insert the inner tube into the tire.
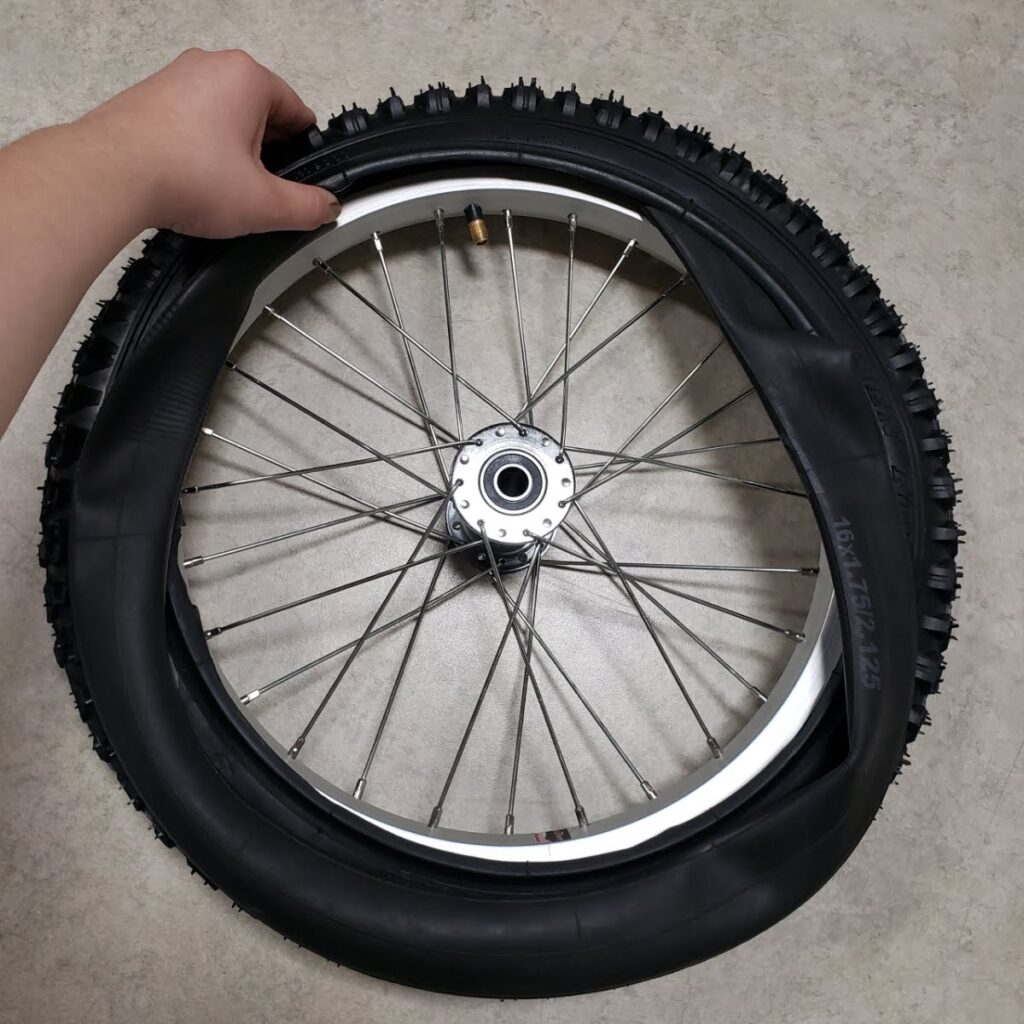
Step 4
Once the inner tube is completely inside, use both hands to
push the tire back into the rim.
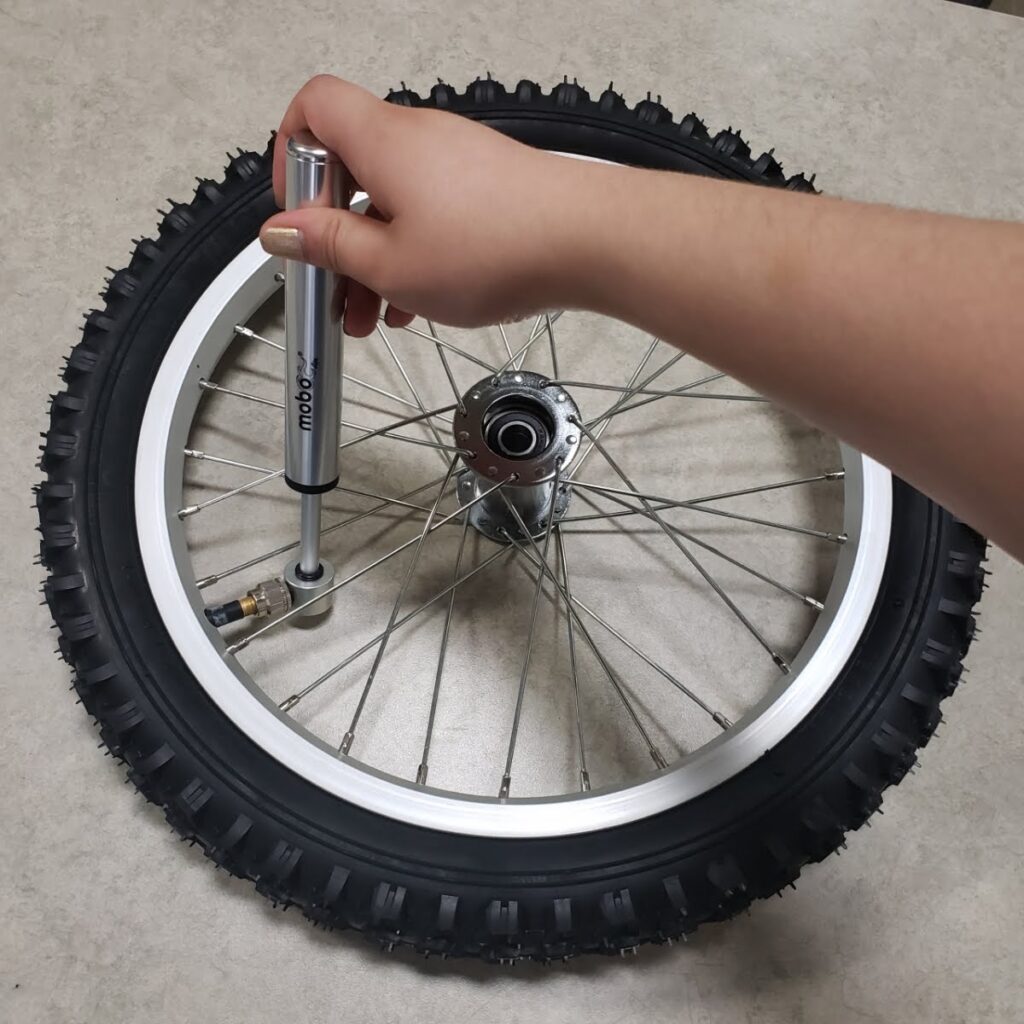
Step 5
Using the air pump, inflate the tire until you reach 40PSI. Be wary of the tire and inner tube shifting out of place while youre pumping air.
You can manually check with your
hand if you dont have a gauge on your pump for the 40PSI, simply grip the tire
and check that it is hard.
Step 6
Once the tire is fully pumped inspect it by making sure both
sides of the tire edges are tucked into the rim. If everything looks great reattach the tire
to your cruiser.
As you can see anyone can replace an inner tube. Remember that its okay to be frustrated when doing something new, but with patience and will power anything is possible!